If you’ve made it this far, chances are you’ve already tried the classic commands like bootrec /fixmbr or bootrec /rebuildbcd and received a frustrating “Access Denied” message.
Or perhaps, simply nothing happened. I know how annoying that is.
In this guide, I’ll get straight to the point. I’m sharing the exact method I used to recover the Windows 10 boot process (a method that is also 100% applicable to Windows 11).
We are focusing on cases where standard tools fail.
- Innocuous bootrec commands for severe cases.
- The “Startup Repair” option (which rarely fixes the problem).
- Wasting time with tutorials that don’t work in real-world scenarios.
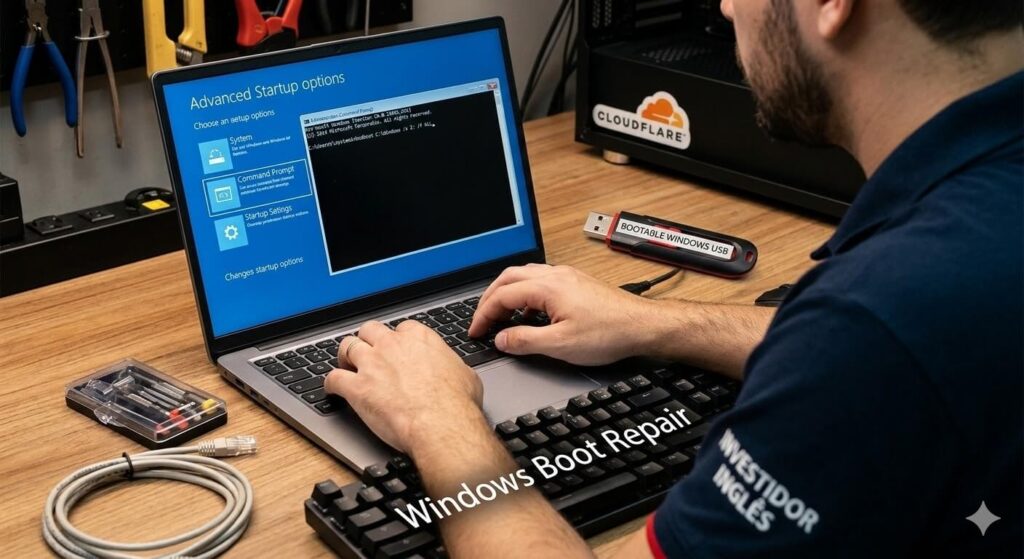
How to fix Windows 10 and 11 Boot Issues
Prerequisites and Preparation
To restore the Windows 10 or 11 boot, you will need:
- A bootable Windows USB drive. [Link: Here is how to create one].
- With the USB drive ready, insert it into your PC and boot from it.
- On the first screen, select your language and keyboard layout, then click Next. On the following screen, click “Repair your computer”.
- Then, navigate to Troubleshoot > Advanced Options > Command Prompt.
Step 1: The Diagnosis (MBR or GPT?)
Before starting, you need to know which “mode” your Windows is operating in. In the Command Prompt of your bootable USB, type:
diskpart
list disk
Look at the GPT column:
- Is there an asterisk (*)? If yes, your disk is GPT (UEFI). Use the UEFI method.
- Is the column empty? Your disk is MBR (Legacy/Inheritance). Use the MBR method.
Step-by-Step: UEFI Boot Resolution
After confirming your system is GPT, let’s prepare the boot partition:
diskpart
list disk
sel disk 0
list volume
Identify the 100MB FAT32 volume (assuming it is Volume 3):
select volume 3
format fs=fat32 quick
assign letter=Z
exit
Now, the command that works the magic:
bcdboot C:\Windows /s Z: /f ALL⚠️ Important: In the Command Prompt, your Windows drive letter might change. If the command fails, use dir C:, dir D:, etc., to confirm which letter contains the “Windows” folder.
Step-by-Step: MBR Boot Resolution
Following the previous logic, let’s prepare the boot partition for Legacy systems:
diskpart
list disk
sel disk 0
list volume
Identify the 500MB NTFS or FAT32 volume (assuming it is Volume 3):
select volume 3
format fs=fat32 quick
active
assign letter=Z
exit
💡 Note: The active command is vital here. It tells the motherboard that this partition is responsible for booting.
bcdboot C:\Windows /s Z: /f ALLBonus: Boot Issues After Cloning?
If you just cloned an HDD to an SSD and the system won’t start, the issue is usually the BCD pointing to the old disk’s ID or a missing Active flag in MBR scenarios.
Pro-Tip for Clones: When migrating from an old HDD to a new SSD, the partition scheme often changes.
If the commands above fail, try adding the /c parameter at the end of the bcdboot command:
bcdboot C:\Windows /s Z: /f ALL /cThis clears old entries and creates a completely fresh BCD, ignoring the “cloning junk.”
Finalizing the Process
Before restarting, let’s clean up the drive letter mess:
diskpart
list volume
select volume 3
remove letter=Z
exit
Simply restart, and your Windows should boot normally.